
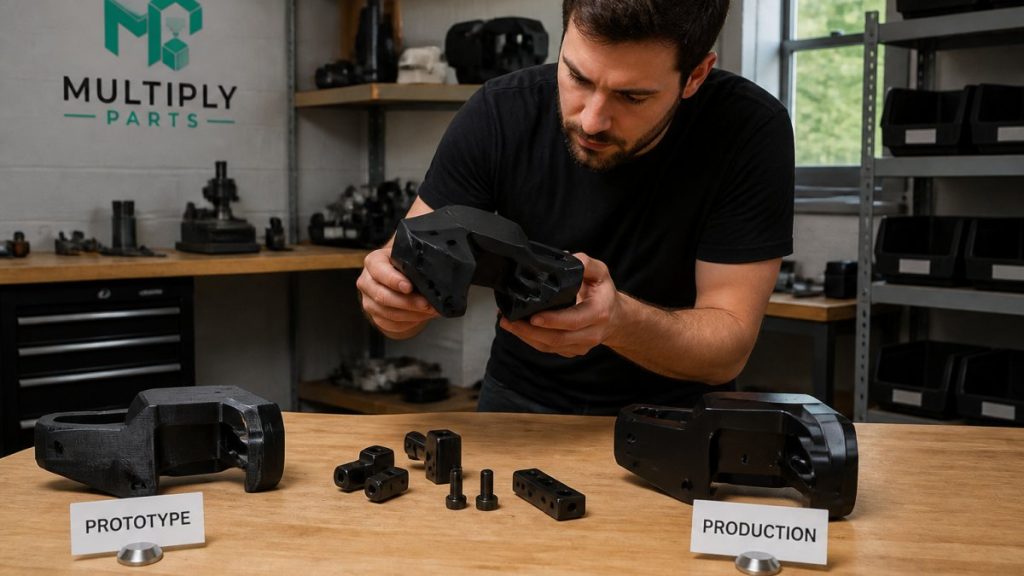
How to Transition from Prototype to Production
Table of Contents
- What You’ll Need Before Moving from Prototype to Production
- Step 1: Run a Manufacturing Readiness Assessment
- Step 2: Apply a Design for Manufacturing Checklist
- Step 3: Validate the Prototype Through Testing and Revisions
- Step 4: Choose Between 3D Printing vs Injection Molding Cost
- Step 5: Run a Pilot Production Run Before Full Scale
- Step 6: Plan Unit Economics, Compliance, and Supply Chain Risk
- Frequently Asked Questions
Last Updated: October 9, 2026
What You’ll Need Before Moving from Prototype to Production
Moving from a working prototype to full production is where most hardware projects stall. The gap isn’t talent or ideas. It’s preparation. The projects that scale cleanly all share the same groundwork.
Before you commit to tooling or a production run, gather these items:
- A frozen design file (CAD) with version control
- Test data from at least one prototype round
- A target production volume and monthly run rate
- A rough unit cost ceiling and budget
- A list of critical-to-function features
- Material specs for every part
- A named person who owns final design approval
The transition from prototype to production is the process of proving a design can be made repeatedly, at cost, and at the quality your customers expect. It is not just a bigger version of prototyping.
Most guides skip the boring part: the paperwork and validation. That’s exactly where failures hide.
Step 1: Run a Manufacturing Readiness Assessment
A manufacturing readiness assessment is a structured review that scores your design, supply chain, and quality systems before you spend money on tooling. Run it as a gate, not a formality.
Score each area from 1 to 5 and set a minimum passing score. Anything below your threshold means you fix it before moving forward.
Scoring Your Design, Supply Chain, and Quality Systems
- Design: Are all dimensions final? Are tolerances realistic for the process?
- Supply chain: Do you have at least two sources for critical parts?
- Quality: Can you inspect and reject parts consistently?
- Cost: Do you know your target unit cost and break-even volume?
- Documentation: Is there a drawing package a new supplier could build from?
A common mistake is treating a “good enough” prototype as proof of readiness. In practice, a part that works once often fails when made a hundred times.
Skipping the readiness assessment usually means paying for tooling twice. Design changes after a mold is cut are the single most expensive mistake in hardware.
Step 2: Apply a Design for Manufacturing Checklist
Design for manufacturability (DFM) is the practice of adjusting a design so it can be made efficiently with the chosen process. A design for manufacturing checklist turns that into a repeatable review, but a checklist without numbers is just a wish list. The version below pairs each check with a concrete target so you can score it pass or fail.
Run every part through these checks and record the result:
- Wall thickness is consistent and within process limits (for injection-molded ABS or polypropylene, a common working range is 1.5 mm to 3.5 mm; thin walls below ~1.2 mm need higher injection pressure and often a different resin)
- Draft angles are added to any molded or cast part
- Tolerances match what the process can actually hold
- Sharp internal corners are rounded with fillets
- Undercuts are removed or redesigned
- Fasteners and inserts are standardized (fewer unique SKUs means fewer assembly errors and lower per-unit cost)
- Material choice fits the load, heat, and impact demands (check the resin datasheet for heat deflection temperature and notched Izod impact, not just the marketing name)
- Bosses, ribs, and gussets follow thickness rules
Tolerances, Draft Angles, and Material Thickness
Three specs cause most DFM failures. Tolerances that are tighter than the process can hold add cost with no benefit. Missing draft angles can cause issues with part release. Inconsistent wall thickness can cause warping and weak spots.
For sports equipment and EV parts that take real impact, material thickness and geometry matter more than surface finish. A slightly thicker rib or a larger fillet often buys more durability than a cosmetic texture. These structural adjustments become even more critical when moving toward a large scale rollout strategy where consistent performance across thousands of units is the primary objective.
The DFM Review Gate
Treat the DFM review as a gate, not a suggestion. Before you release a drawing package to a toolmaker, have the manufacturer sign off on each line above and return the marked-up file. A short review catches problems that would cost far more to fix after tooling.
Ask your manufacturing partner for a DFM review before you finalize the file, and ask them to flag any feature that drives tooling cost. The cheapest design change is the one made before the steel is cut.
Digital Handoff and Production Documentation
DFM does not end at the drawing. The handoff package should include a controlled CAD file, a bill of materials with approved suppliers and part numbers, a drawing set with revision letters, and work instructions for assembly. Every revision needs a reason and a record, if a supplier builds from Rev C while your team is on Rev E, you will find out at the pilot run, not before. Keep a single source of truth and lock edits once a revision is released.
A drawing package that a new supplier cannot build from is not finished. If the only person who understands the tolerances is the original designer, you do not have a production-ready design.
Step 3: Validate the Prototype Through Testing and Revisions
Design validation is the stage where you prove the part works under real conditions, not just on a bench. Test, measure, revise, and repeat until the part passes every critical-to-function check.
Build a short test plan:
- List the conditions the part must survive (load, heat, vibration, impact).
- Define pass and fail for each condition.
- Test at least three units, not one.
- Log every failure and the design change that fixed it.
- Freeze the design once it passes.
Design iteration is normal. What matters is that each revision has a reason and a record. This is also where you build the documentation a production partner will need later.
Step 4: Choose Between 3D Printing vs Injection Molding Cost
The 3D printing vs injection molding cost decision comes down to volume, geometry, and how final the design is. 3D printing has low setup cost and higher per-part cost.
Use this rule of thumb:
| Factor | 3D Printing | Injection Molding |
|---|---|---|
| Setup cost | Low | |
| Cost per part | Higher | |
| Best for | Low volume, complex shapes | |
| Design changes | Easy | |
| Lead time | Fast |
When Bridge Tooling and Low-Volume Production Make Sense
Bridge tooling is a temporary tool used to make parts while the final tool is being built or while demand is still unproven. Pilot production and low-volume runs let you test the market before committing to a full mold.
If your volumes are still uncertain, start with 3D printing. Move to a hard tool only when demand is proven.
Startups and small brands testing demand before committing to expensive tooling. No minimum order quantities mean you can scale in steps.
Step 5: Run a Pilot Production Run Before Full Scale
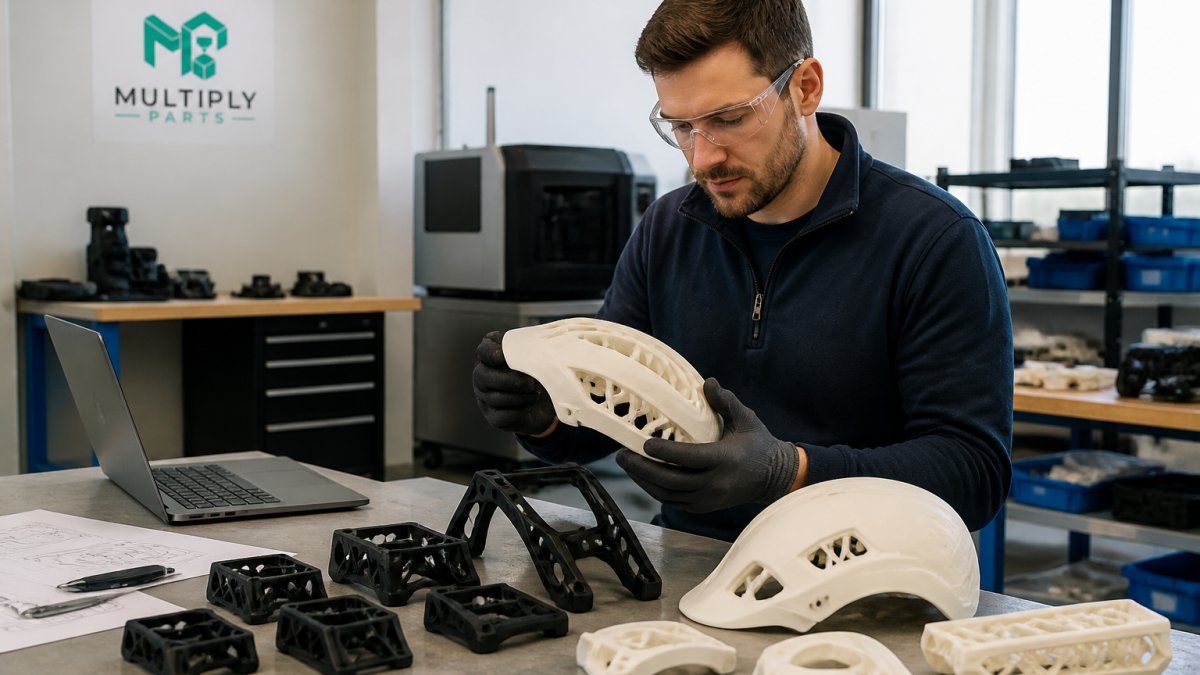
A pilot production run is a small, controlled batch made on the actual production process before full scale. It is the last checkpoint before mass production. A pilot run exposes problems that prototypes never show: assembly fit, process speed, and quality drift.
Set Pass/Fail Criteria Before You Start
A pilot run without targets is just a small production run. Define the numbers before the first part is made, then measure against them:
- Yield: what percentage of parts pass final inspection?
- Cycle time: how long does one part take, start to finish? Compare to the cycle time your unit-cost model assumes. If the pilot is 30% slower, your margin is wrong.
- Dimensional capability: measure a sample of at least 30 parts against the critical dimensions. If the process cannot hold the tolerance on 30 parts, it will not hold it on 3,000.
- Assembly fit: build the full assembly, not just the part. Fit issues that hide in a single component show up when parts stack.
- Defect rate by category: log every failure, short shot, warp, flash, scratch, missing insert, so you know which problem to fix first.
Bridge Production and Low-Volume Runs
Pilot production and low-volume runs let you test the market before committing to a full mold.
If your volumes are still uncertain, start with 3D printing or bridge tooling. Move to a hard tool only when demand is proven and the design has stopped changing.
Quality Control and Inspection During the Pilot
Quality control at this stage is not optional. Write an inspection plan that names the critical-to-function dimensions, the gauge or fixture used to check each one, the sample size per batch, and the accept/reject rule. Inspect a sample from every batch and log the results in a shared sheet. Reliability comes from consistency, not from one good part.
What the Pilot Should Produce
By the end of a successful pilot you should have:
- Real unit cost data, material, labor, tooling amortization, inspection, and scrap, to replace your estimates
- A verified cycle time and yield figure for your break-even model
- A frozen revision of the drawing package and work instructions
- A list of open defects with owners and target fix dates
- A go/no-go decision on the hard tool, backed by numbers rather than optimism
If the pilot misses its targets, fix the process and run a second pilot.
Step 6: Plan Unit Economics, Compliance, and Supply Chain Risk
Unit economics decide whether the product is viable. Add up material, labor, tooling amortization, shipping, and inspection. Then compare that to your selling price and target margin. Find your break-even volume before you scale.
Compliance and certification matter too. Depending on your product, you may need to meet safety and labeling rules. In Canada, electrical and electronic products often fall under Innovation, Science and Economic Development Canada’s certification requirements, and Health Canada sets rules for certain consumer products. Check which apply to your part before launch.
Supply chain risk is the last piece. Plan for it:
- Qualify at least two suppliers for critical components
- Keep buffer stock of long-lead items
- Track lead times and reorder points
- Have a backup process for single-source parts
Risk management and production planning turn a one-time launch into a repeatable business.
Frequently Asked Questions
How do you know when a prototype is ready for production?
A prototype is ready when it passes three checks: it meets your functional specs across repeated tests, the design has been reviewed against manufacturing constraints, and a manufacturing readiness assessment scores your supply chain and quality plan as viable. If any of those are unresolved, you are not ready to scale. Most teams find that running a pilot production run of 20 to 50 units surfaces issues a single prototype never will.
How much does it cost to move from prototype to production?
Costs depend on quantity, material, process, and tooling. Low-volume 3D printing avoids hard tooling entirely. For a realistic budget, request an instant quote based on your actual CAD files and target volume.
How can 3D printing help bridge the gap between prototyping and production?
3D printing lets you produce a pilot production run without committing to expensive tooling. You can test market demand, validate fit and finish on real units, and refine your design before investing in injection molds. For sports and EV accessory parts, materials like nylon and carbon-fiber composites handle impact and heat well enough for short-run production while you gather customer feedback.
What changes are needed to make a prototype manufacturable?
Common changes include adjusting wall thickness for consistent cooling, adding draft angles, tightening or loosening tolerances to match process capability, and replacing features that require secondary operations. A design for manufacturing checklist walks through each of these. Reviewing your CAD files with your manufacturing partner before tooling starts saves far more than it costs.
Scaling from a prototype to production is a series of gates, not a single leap. Each step, from readiness assessment to pilot run, protects your budget and your reputation. MultiplyParts helps teams move through those gates with instant pricing, no minimum order quantities, and fast turnaround times on high-quality 3D printing for sports and EV parts. Get an Instant Quote and turn your design into a production-ready product.
