
How to Reduce Manufacturing Costs for Startups
Table of Contents
- How to Calculate Manufacturing Costs Before You Cut Anything
- 3D Printing vs Injection Molding Cost: Pick the Right Process for Your Volume
- Design for Manufacturability: The Cheapest Cost Reduction Happens in CAD
- Frequently Asked Questions
Last Updated: October 20, 2026
How to Calculate Manufacturing Costs Before You Cut Anything
Startups that cut manufacturing costs before knowing their real cost per unit usually cut the wrong things.
Manufacturing costs are the total of direct materials, direct labor, and overhead needed to make one sellable unit. Split them into direct costs (resin, filament, metal powder, inserts, fasteners), indirect costs (machine time, power, shop overhead, software), and one-time costs (tooling, molds, jigs, fixtures, setup fees).
Then run one formula:
Cost per unit = (materials + labor + overhead) ÷ units produced + one-time costs ÷ total order quantity
A mold costing a few thousand dollars is cheap across 10,000 units and brutal across 100. For a deeper walkthrough of the math, Chartered Professional Accountants Canada’s financial literacy resources covers cost accounting basics in plain terms.
The most common startup mistake is quoting a per-unit price from a supplier and treating it as your true cost. Shipping, duties, tariffs, and rework are not in that number. Build a total landed cost sheet before you sign anything.
3D Printing vs Injection Molding Cost: Pick the Right Process for Your Volume
3D printing wins below roughly a few hundred units; injection molding wins above a few thousand, with the crossover depending on part size, material, and expected revisions.
| Factor | 3D Printing | Injection Molding |
|---|---|---|
| Tooling cost | None | High, paid upfront |
| Cost per unit at high volume | Flat, does not drop much | Drops sharply |
| Best for | Prototypes, small batches, custom parts | Mass production of stable designs |
If your design is still changing, stay with 3D printing, paying for tooling on a design you will revise in a month burns cash. MultiplyParts offers instant pricing and no minimum order quantities, so you can quote a short run before committing to a mold. Refining your geometry to align with design for manufacturing principles ensures that once you move beyond prototyping, your final production parts are optimized for both cost and structural integrity.
National Research Council of Canada’s industrial materials guidance is a useful reference if you need to match a material to a load or temperature requirement.
Ask for a quote at three volumes: your current batch, double it, and ten times it. The price curve tells you exactly when to switch processes. Most founders never run this test.
Design for Manufacturability: The Cheapest Cost Reduction Happens in CAD
Design for manufacturability (DFM) means designing a part so it is cheap and easy to make. Every change in CAD is free; every change after tooling is not.
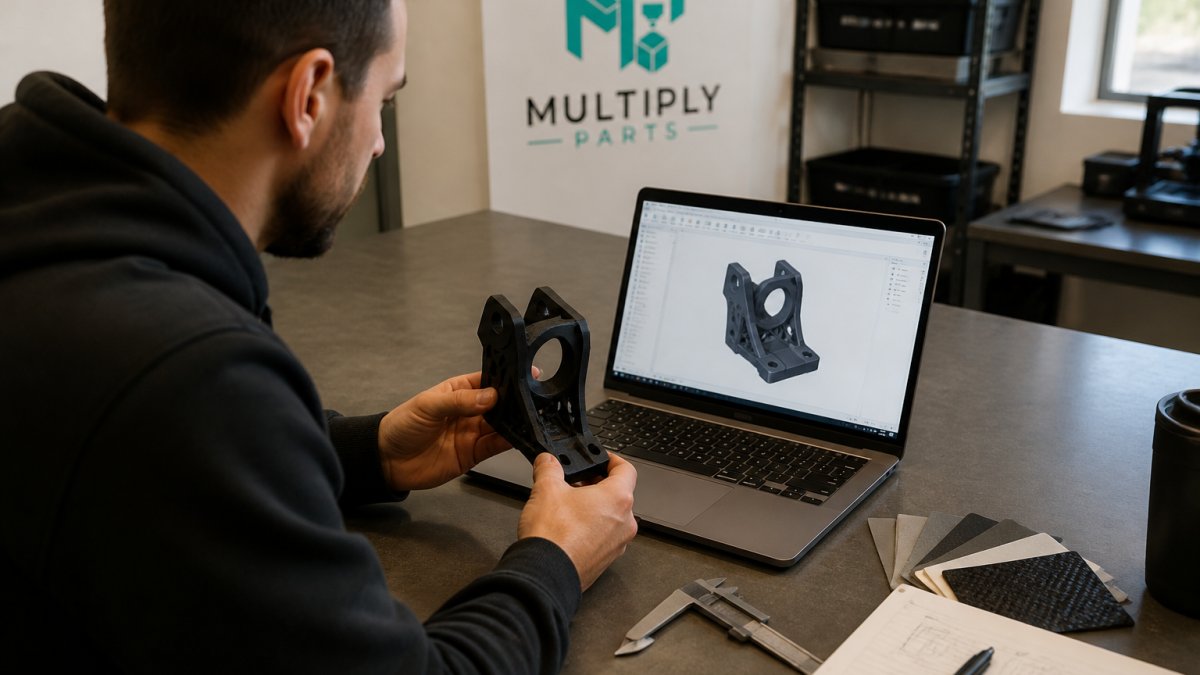
Run this checklist before sending any file out:
- Remove undercuts that force support material or complex tooling
- Standardize wall thickness across the part
- Combine separate parts into one printed assembly where possible
- Use standard fastener sizes instead of custom threads
- Round internal corners to reduce stress and tool wear
- Tolerances only where the part actually needs them
- Confirm the material suits heat, impact, and UV exposure
That last item is where sports and EV parts fail. A bracket that survives a bench test can crack in the field if the material was chosen for price instead of load. Validate the material before you scale.
The cheapest cost reduction is a design review. One hour in CAD can remove a tooling cost, a secondary operation, or a whole part from the assembly.
Frequently Asked Questions
How can startups reduce manufacturing costs without compromising quality?
Start by calculating your true unit cost, then attack design waste before anything else. A design for manufacturability review in CAD often removes features, fasteners, and finishing steps that add cost without adding function. Match the process to your volume: 3D printing keeps small batch manufacturing costs low because there is no tooling, while injection molding only pays off at higher quantities. Use instant quoting to compare options before committing, and keep quality checks on every run so savings do not turn into rework.
When should a startup switch from 3D printing to injection molding?
The switch depends on volume and geometry, not a fixed number. Injection molding carries upfront tooling cost, so it makes sense when your annual quantity is high enough that the lower per-part price repays the tooling within a reasonable payback period. Below that, 3D printing usually wins on total cost because you avoid tooling entirely and can revise designs without scrapping a mold. Run the 3D printing vs injection molding cost comparison at your actual volumes, including finishing and assembly, before you commit.
How do you calculate the total cost of manufacturing a product?
Add direct costs (materials, machine time, labor per part), indirect costs (setup, quality inspection, packaging), and overhead (facility, software, admin). Divide the total by your production quantity to get cost per unit, and include scrap and rework rates so the number reflects reality. For startups, also factor in tooling amortization and freight. Recalculate whenever volume or design changes, because unit cost shifts with quantity and a quote that worked at 50 units may not hold at 500.
